X2Go Usage and Overview
If you are using an ECN supported host and the X2Go client isn't installed then send in a request to have it installed.
If you are not using an ECN supported host then go the X2Go download and install pages.
Now start the X2Go client.
You should see something like this:
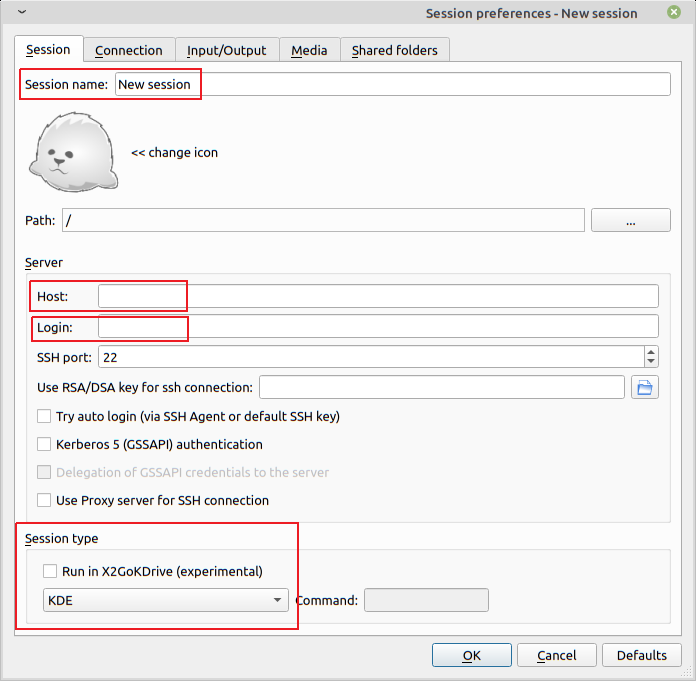
There are 4 keys things to fill out:
- Session name
- Host
- Login
- Session type
Let's go through each of these.
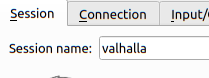
Session
The host's name works for this but you can name it anything you like.
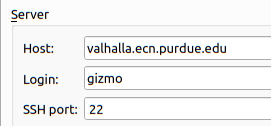
Host and Login
The Host field needs to be the Fully Qualified Domain Name of the host.
Login is your Purdue alias/username.
Session Type
In our testing we found the the XFCE desktop manager worked the best with X2Go.
Please confirm with ECN that the host you want to connect with does have the XFCE desktop manager installed.
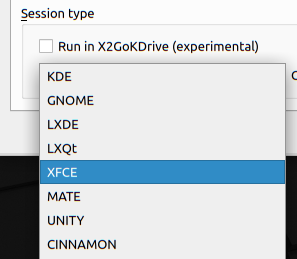
That is the minimum required to connect.
You might need to create a VPN connection to Purdue to connect to some hosts.
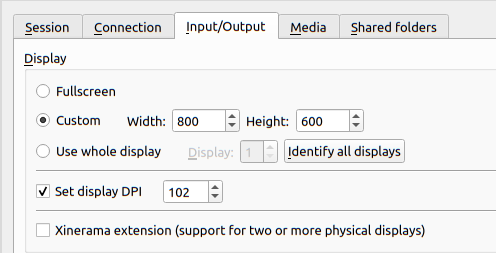
Input/Output
You might want to change the window size that is created for a session. The default is 800x600.
1024x768 is a good size, but this is dependent upon the size of the monitor for the computer you are using.
Start session
That you have created a session you can start a session by clicking in the X2Go mascot/session name area on the right.
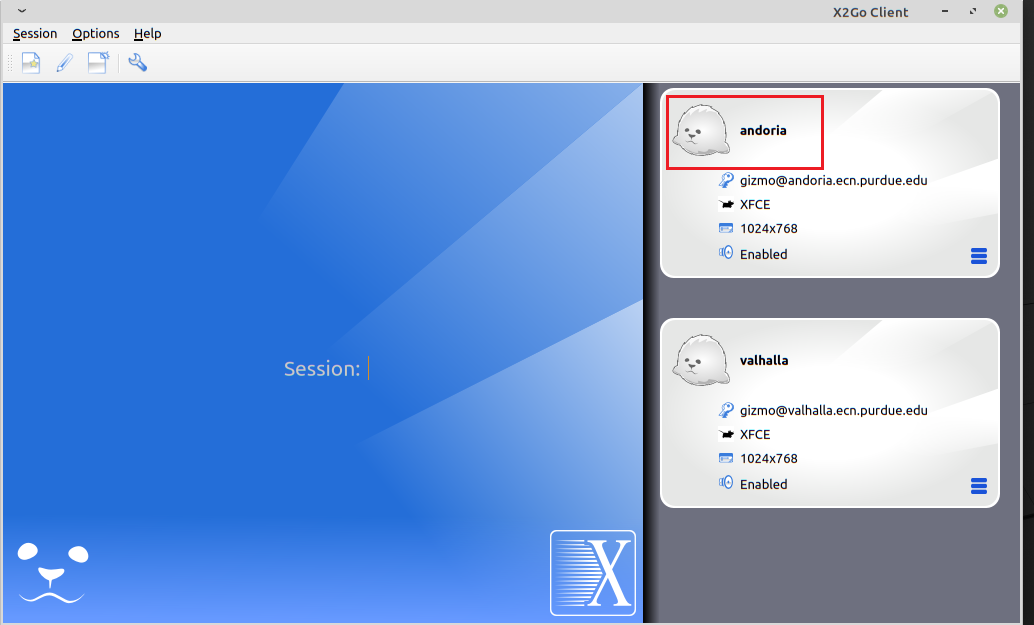
This will bring up a login window.
You might be prompted to approve a ssh key if this is your first time connecting to a host.
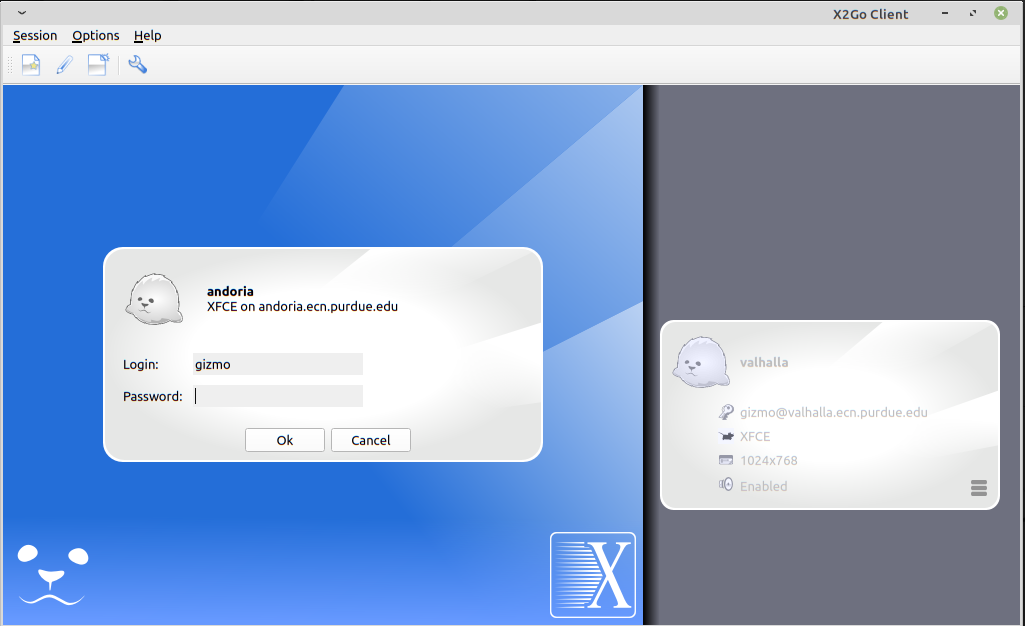
A window with your desktop will come up and you can then use it to do what you need to do on the host.
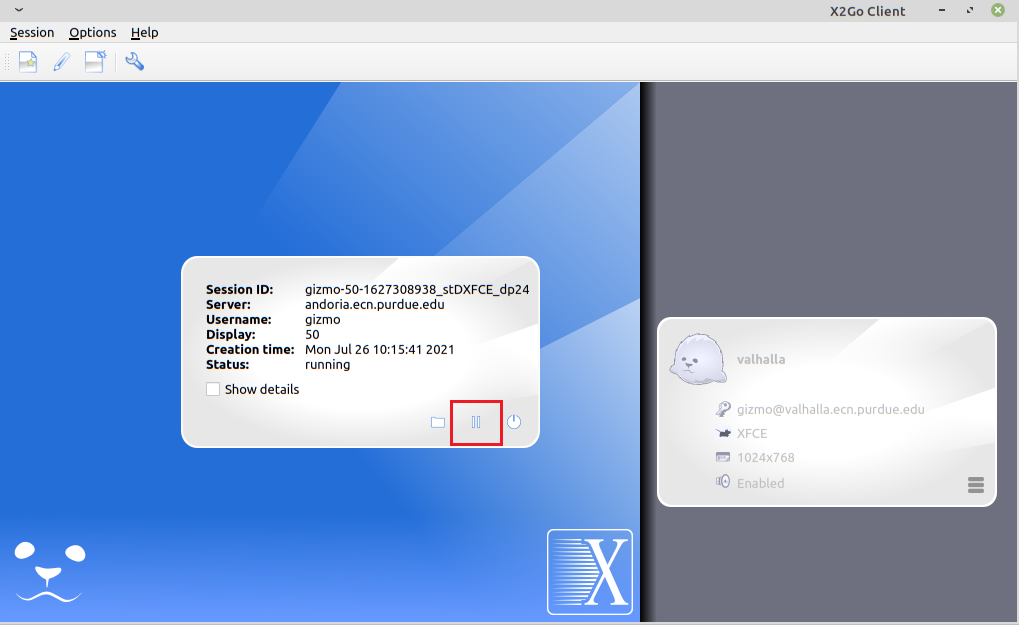
Pause/Sleep Session
In the X2Go window where the login prompt was is a new window with connection information. You can choose to sleep/suspend the session. This will keep the session 'alive' on the host you connected to and will replace the connection information window with a login prompt. You can return to that session by logging in again.
Just click on the "pause" button.
Ending A Session
Logging out of the host your connected to is the recommended way to end a session. You can close out applications that are running cleanly.
That's it for the basic settings to get started using the X2Go client.
Errors and Ommissions
If find any errors or ommissions in this documentation don't hesistate to let ECN know so that it can be updated or improved.
Last modified: 2021/07/26 16:02:8.793782 GMT-4 by
joseph.r.kline.1
Created: 2021/07/19 14:45:38.873748 GMT-4 by joseph.r.kline.1.