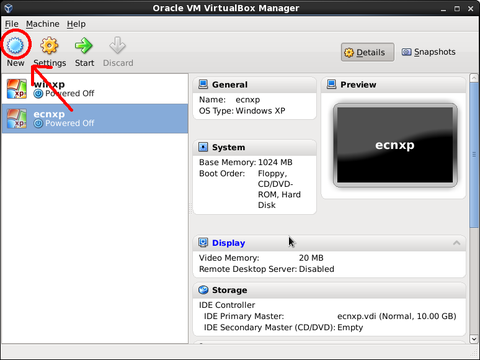
Once VirtualBox has come up, Click on New
WinXP VM setup using VirtualBox
To launch Virtual Box go to Applications → System Tools → Oracle VM VirtualBox

Now you need to give the virtual machine (VM) a name, select the operating system, and version.
In this case it needs to be Microsoft Windows XP
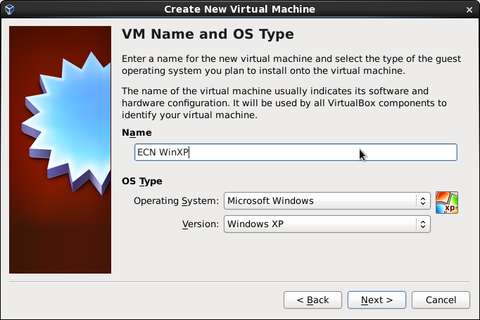
After filling that out click next.
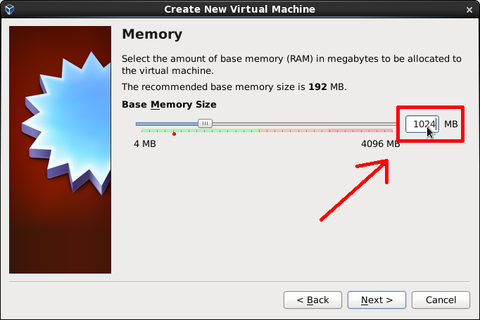
You should be asked to allocate memory. 512MB is the minimum but if you have the RAM make it 1024MB.
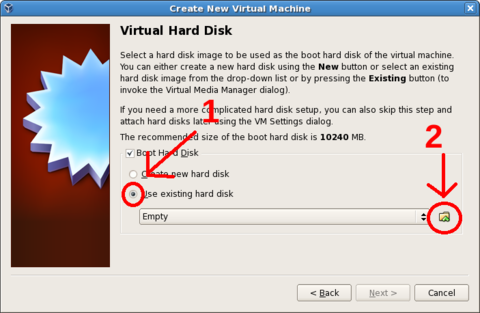
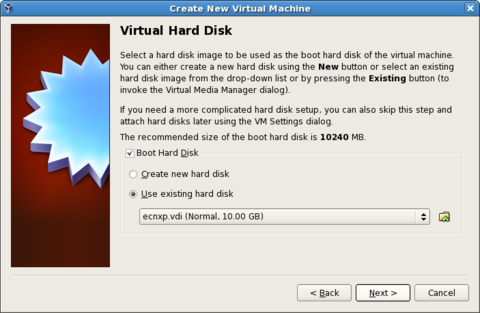
Now we need to set up the Virtual Hard Disk. First, choose Use existing hard disk. Then click on the folder icon, pointed to by arrow 2.
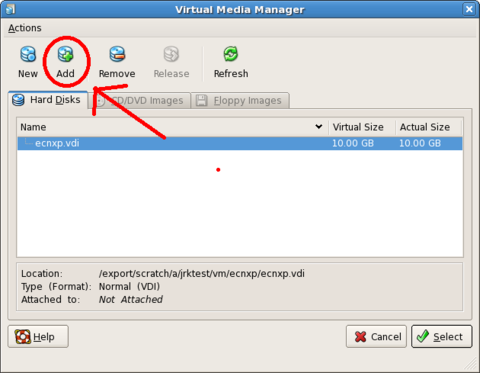
You will want to Add a virtual disk.

Click on the computer icon and navigate to the location where ECN copied the virtual disk image(VDI) file. Select the VDI and click on the Open icon.
Click on Next

Finally, click on Finish
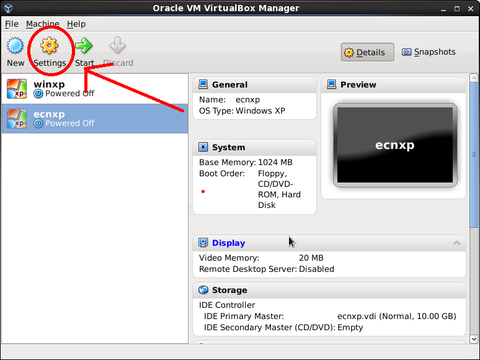
You need to change some settings for your VM. Click on Settings.
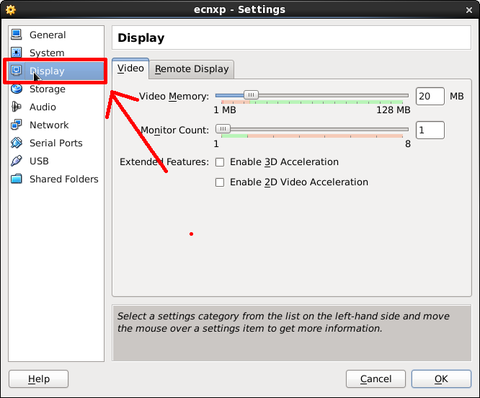
Select Display then set your video memory to 32MB (area 1)
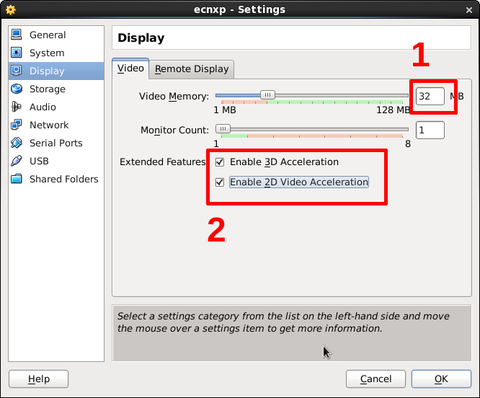
You may also want to enable 2D and 3D acceleration (area 2).
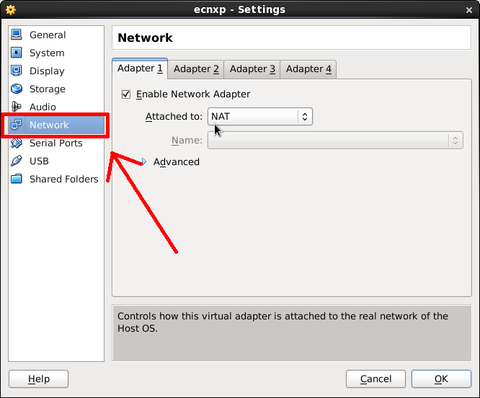
Now select Network
/div>

In the drop down menu for Attached to: change it to Bridged Adapter and then click OK
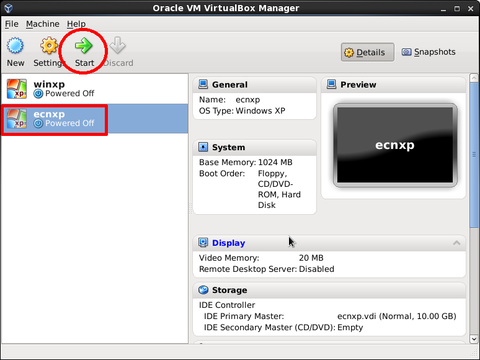
Now select the VM you just created and click on Start to launch your vm.
The VM should now auto-login to the winxp vm as a user with administrative access.
Have fun and be careful.
Update: If you assign it 2 or more cores you will need to run the following from a command prompt in the Windows VM:
rundll32 syssetup,SetupInfObjectInstallAction ACPIAPIC_MP_HAL 128 %windir%\inf\hal.inf
That should change WinXP to recognize multiple cpu's. A reboot or two of the VM might be neeed.
Last modified: 2012/05/16 17:35:40.308659 GMT-4 by
joseph.r.kline.1
Created: 2011/10/03 17:14:28.724000 GMT-4 by joseph.r.kline.1.